
Blender Development Series 3 - Taming the Beast
Time flies. The multi-view camera solver project has almost come to an end. I had a wonderful experience working with Blender code base and have learnt a lot from it. This post demonstrates my work and also serves as a user documentation. If you have any questions or suggestions, feel free to leave a message at the bottom.
I - What I have done
Briefly speaking, this project is composed of two parts: the solver part and the UI part. The solver part mainly deals with the support of reconstructing multiple video clips together. While the aim of the UI part is to deliver a decent user interface for specifying links across different videos. The main goal of this project, briefly speaking, is to boost the robustness of camera trajectory estimation and to cope with drastic varying condition of a single camera. So for example, if the main video clip that you want to reconstruct is under a fast moving motion, usually you won’t get good results with the single-view pipeline because of jittering. In this circumstance, you can use a witness camera that has a smooth motion and shares some scene overlap with the main clip, to enhance the stability of the reconstruction. But if your primary camera is under a slow motion, usually the single-view pipeline would suffice. If you still have no idea of why I am doing this, you can checkout my proposal.
Commit history
MiikaHweb is a handy website that show the real-time code commits of Blender developers. My developer page shows clearly how many commits I have contributed, commit distribution (which branch the commits belong to), file changes, code changes, etc. Up to August 19, I have pushed 130 commits to the soc-2016-multiview branch (my main working branch) and 1 commit to the master branch. Including this un-official page, you can accesse my work at:
Part 1: Multi-view Reconstruction
I spent about six weeks getting familiar with the camera tracking code, and working on transforming the single-view functions to multi-view ones. The blender code is giant and complicated, which imposes some difficulties in revising it. Meanwhile, it is also well-organized and follow specific patterns. Basically, it has some internal data structures used in the front-end user interface, and some third-party libs that do the actual computation, to which I often refer as ‘back-end’. My understanding may not be comprehensive but it is at least the case for the motion tracking part. To add a new functionality, the first thing to do is adding some operators in accordance with the blender format, such as registering exec, invoke, modal, poll functions.
For the motion tracking section, blender relies on a multiple view geometry library called libmv. We need to transform blender internal data structures into the data structures used in libmv. A very important data structure for multi-view camera tracking is the correspondence data structure, which records the same features across different video clips:
typedef struct MovieTrackingCorrespondence {
    struct MovieTrackingCorrespondence *next, *prev;

    char name[64];  /* MAX_NAME */

    MovieTrackingTrack *self_track;
    MovieTrackingTrack *other_track;

    struct MovieClip *self_clip;
    struct MovieClip *other_clip;
} MovieTrackingCorrespondence;
We pass correspondences from blender internal data structures to libmv. For each video clip at the back-end, its tracks are first indexed linearly [0, 1, 2, …, N1-1], [N1, N1+1, …, N1+N2-1], so on and so forth. Then if two tracks are the same, the index of the second track will be replaced by the index of the first track. For example, Track #3 in the first clip is linked with Track #14 in the second clip. Then the global id of Track #14 (which is 14) will be replaced by 3. With this adaptation, we can just re-use much of the single-view reconstruction code.
The reconstruction is basically in a linear fashion. First two views from the main clip are reconstructed. Then the track that are viewed by both views (frames) are triangulated. Other views are then incrementally registered to the initial reconstruction. For implementation details of multi-view solver, readers may refer to intern/libmv/libmv/autotrack folder.
Part 2: Correspondence Mode in MovieClipEditor
With the basic solver done, my mentor Sergey Sharybin and I plan to make a new mode for specifying correspondences. This UI change is necessary because if without it users have to open up two MovieClipEditor (MCE) side by side to link tracks across clips. It is more natural to have this new mode and has several benefits. Firstly, users don’t need to open up two MCEs side by side in order to specify corresponding tracks, which is not straightforward. Second, we can mark linked tracks in a different color in two sub-regions. This is difficult to achieve with two separate MCEs.
This part is similar to quad-view in 3D viewport (by clicking ‘Toggle Quad View’ button under ‘Display’). The difficulty here is that we need to split the region-related field of SpaceClip into a new data structure called ‘RegionSpaceClip’, so that we can have independent zoom and panning for each sub-region. This data structure is shown below:
/* region-related settings for Clip Editor */
typedef struct RegionSpaceClip {
    float xof, yof;             /* user defined offset, image is centered */
    float xlockof, ylockof;     /* user defined offset from locked position */
    float zoom;                 /* user defined zoom level */
    int flag;                   /* region type (main clip/secondary_clip), used in correspondence mode */
} RegionSpaceClip;
In this blog article, I would not go into implementation details of correspondence mode. Interested readers may refer to the code documentation hosted on wiki.b.o.
II - User Documentation
After all, users may not care too much about the implementation details. So in this section, I will illustrate how to use this new feature and briefly explain the benefits. The workflow is simple and straightforward:
- Open the main clip, mark some markers from the first frame and get them tracked.
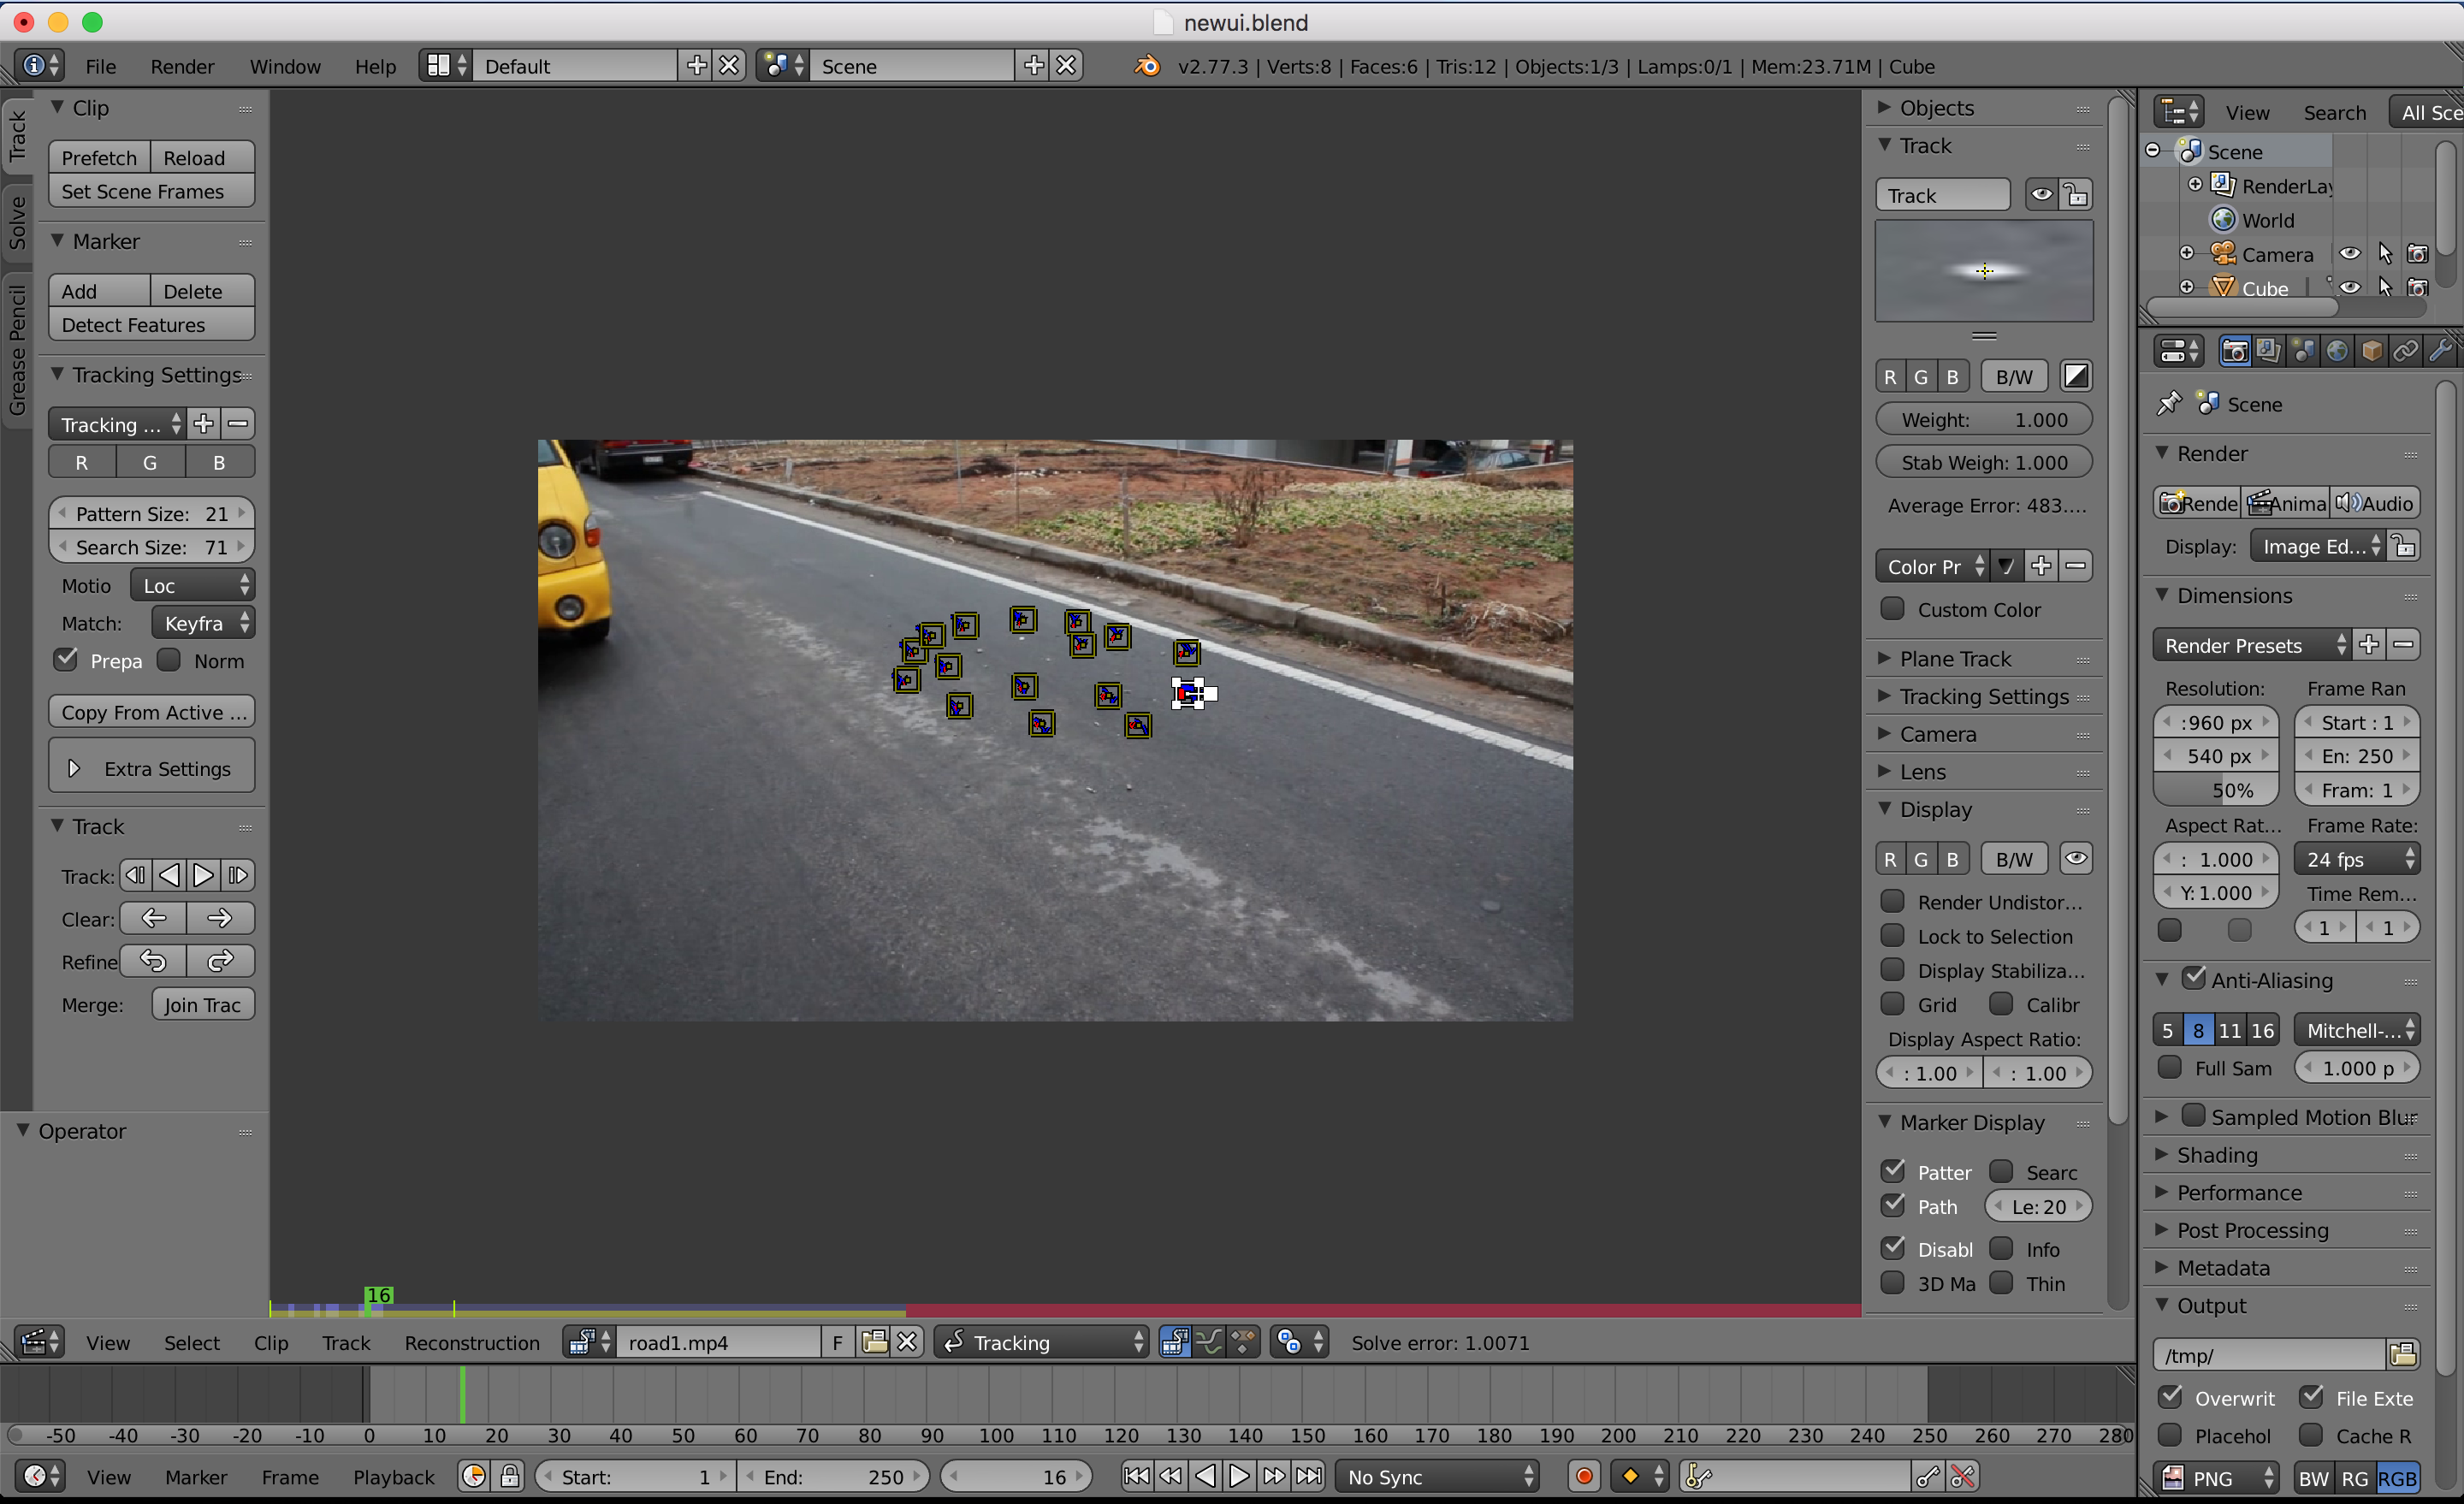
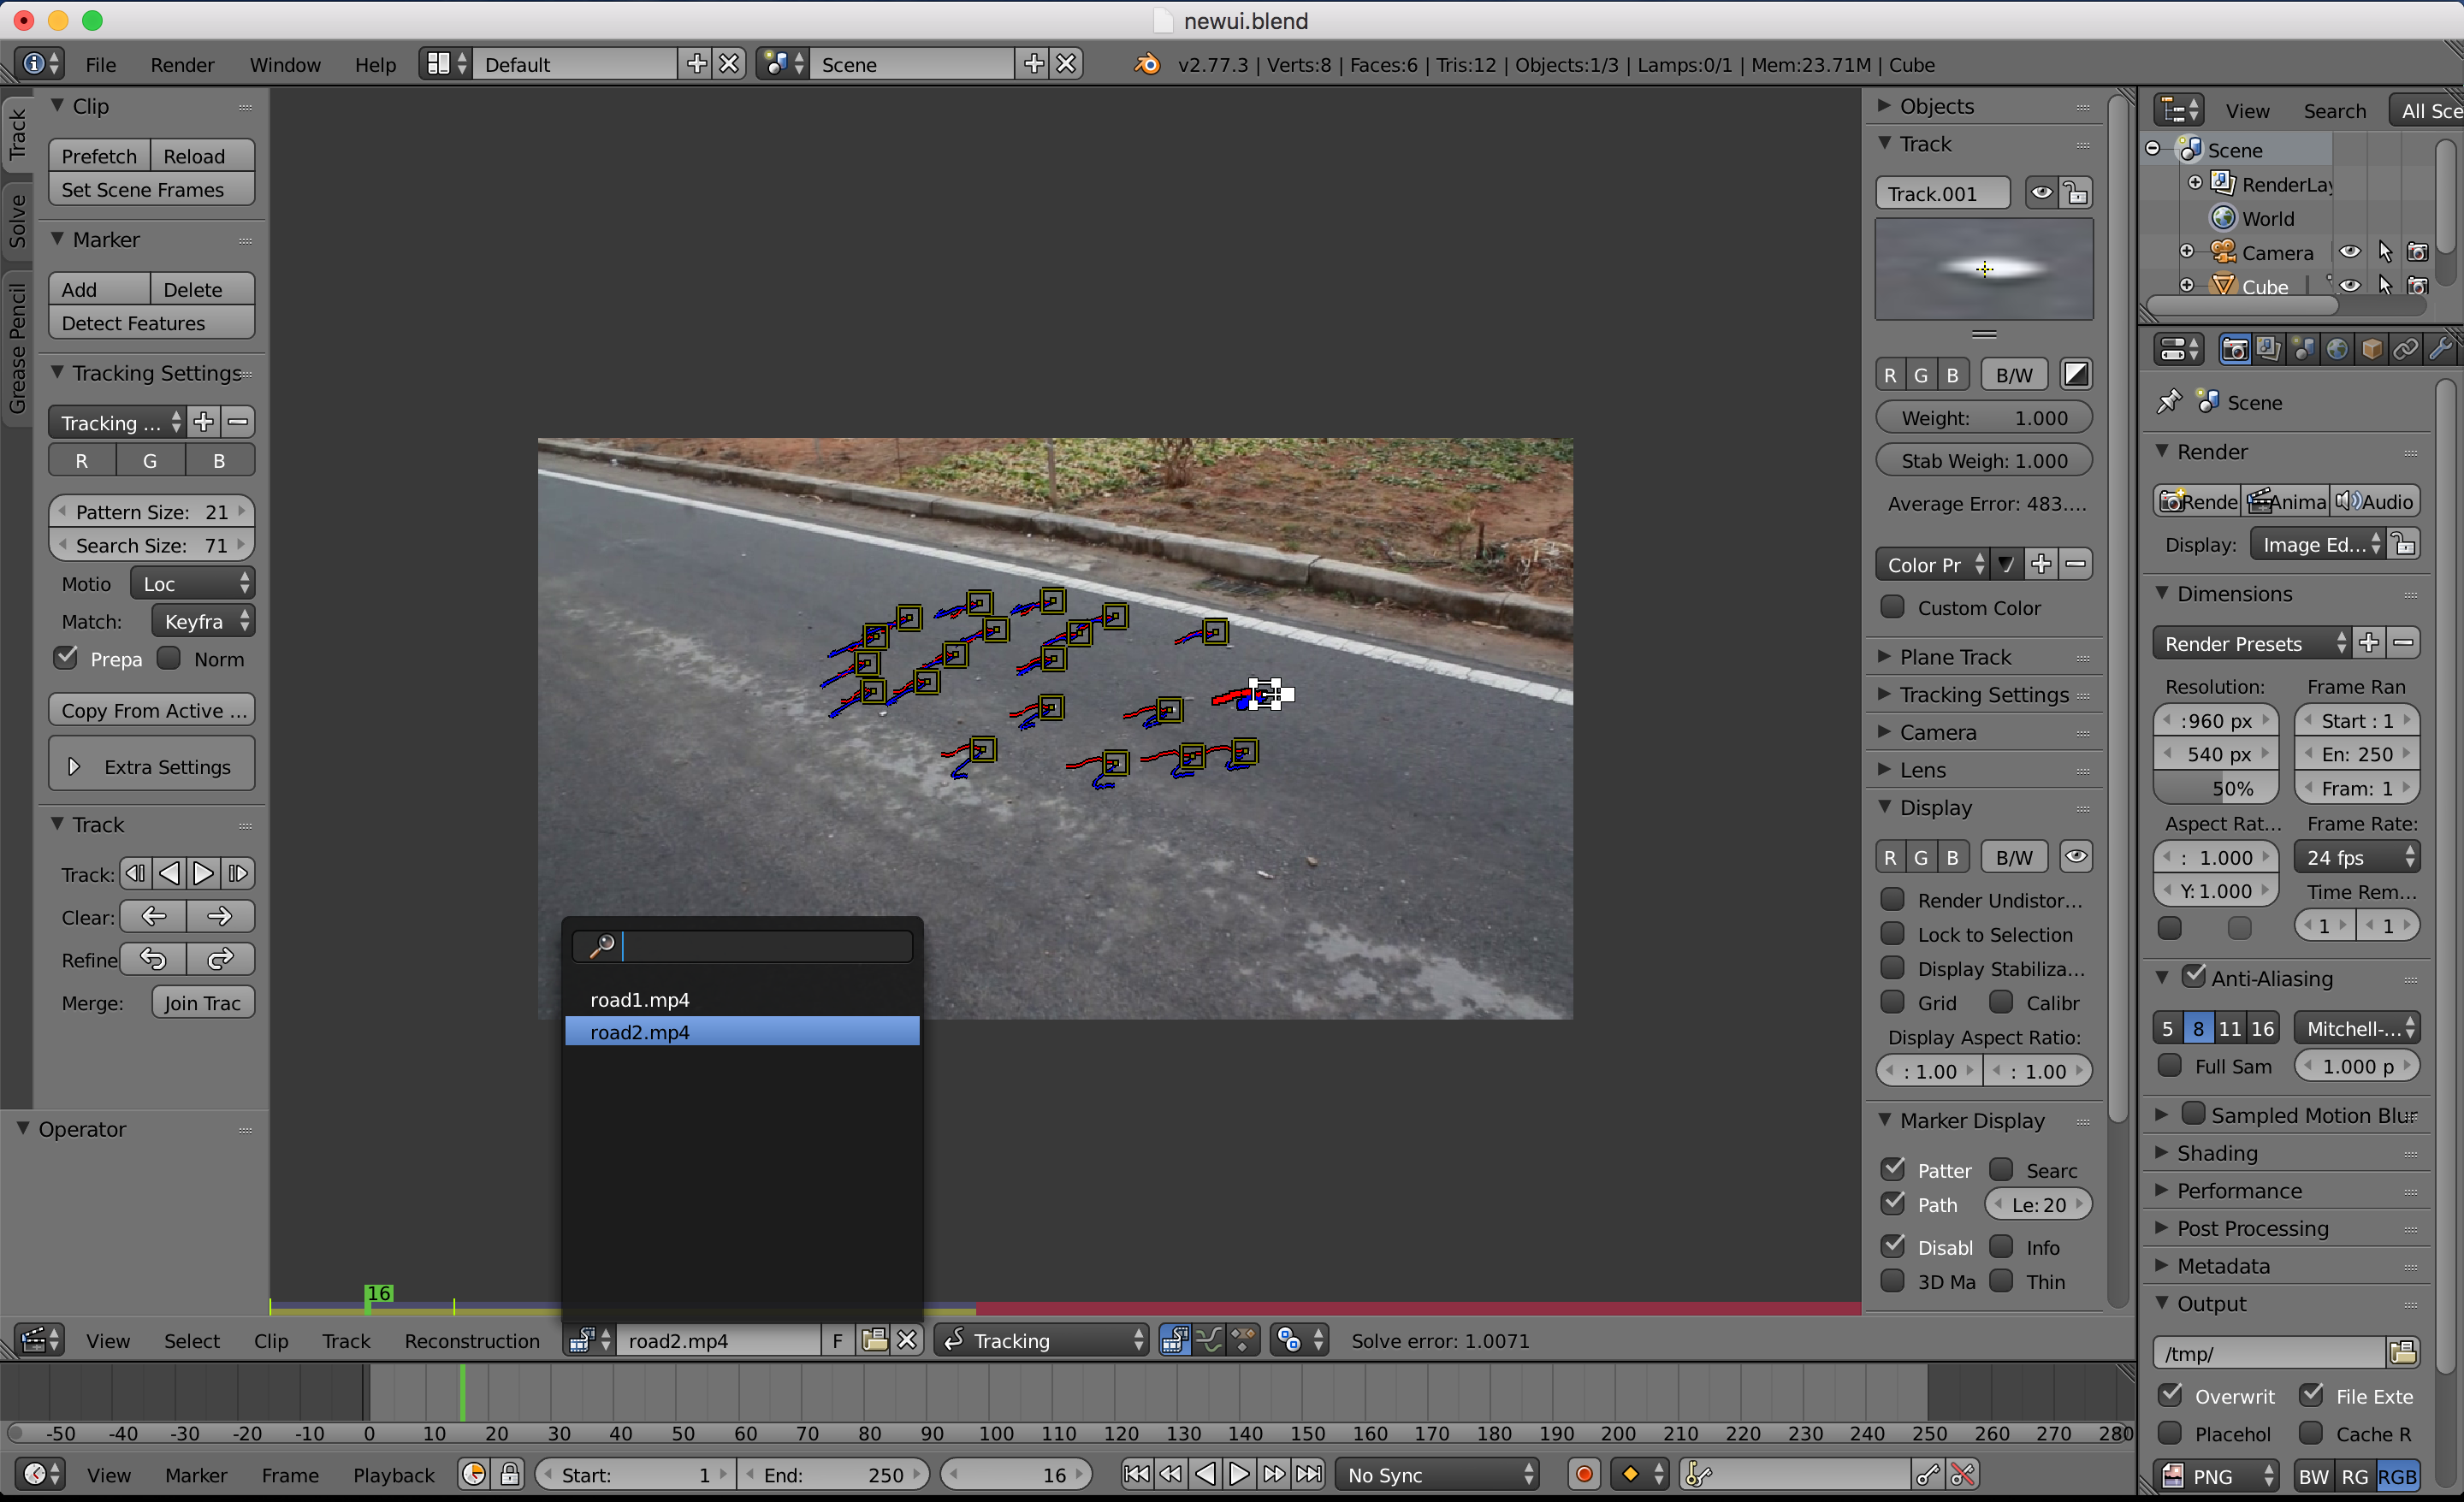
- Open the witness clip, do the same.
- Enter the ‘correspondence’ mode
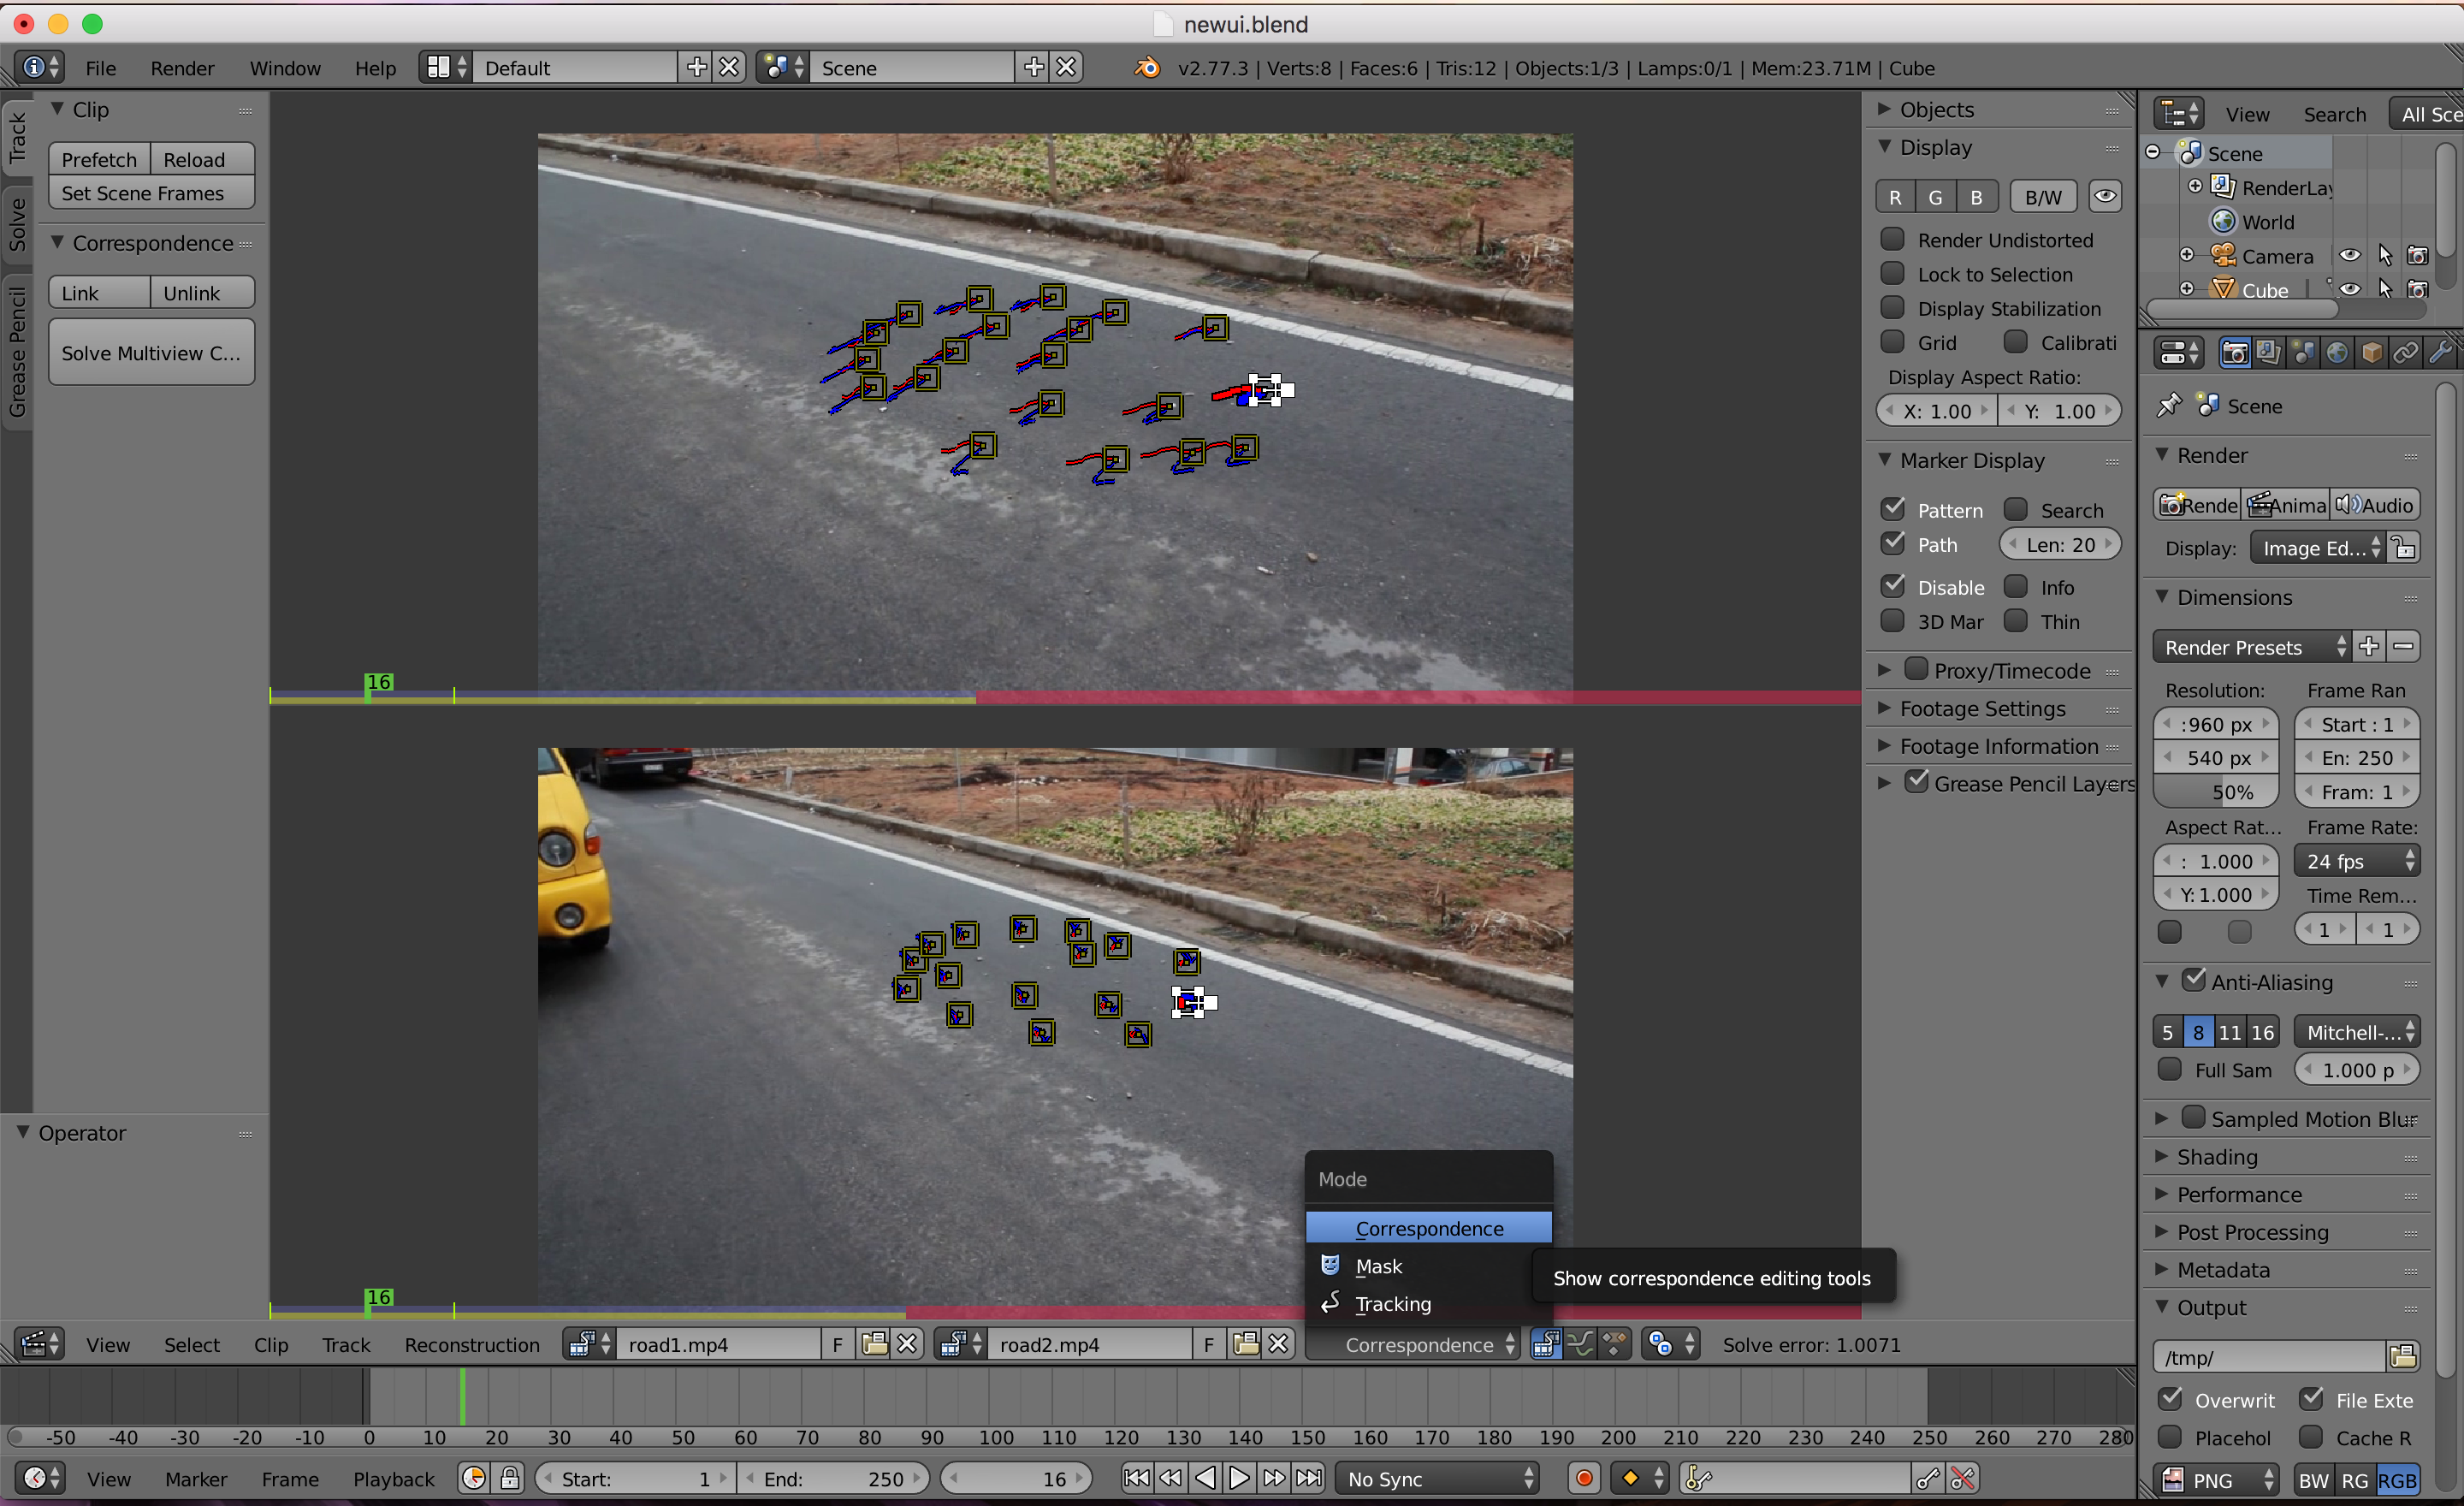
- specify some links across different clips (implying the two tracks are actually the same).

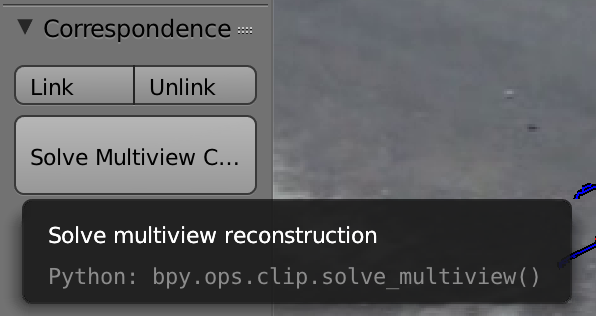
- Hit ‘Solve Multiview Camera’ button, you are done!
I also made a short video to show the whole process:
III - Conclusion
What is left to be done (as up to August 27, 2016)
- I am conducting a user testing now. If you are interested, you can download it from here. It’s a test mac-build and the color for the linked tracks are not shown correctly. But you can follow the workflow and try it :). I will upload a stable one to graphicall.org in a few days.
- Multiview solving button should be combined with single-view solving button. Now they are separated.
- We can only show the solving results (camera trajectories) of the main clip, while witness cameras are actually also reconstructed.
Final Remarks
This article describes the work I have done for Blender this summer. It is potentially useful for the motion tracking community. With this multiview tracking function, artists can get more stable reconstruction results. While at the same time, I have learnt a lot from the development process in blender codebase. I will keep refining it to ensure it meets the requirements of artists and gets merged in the next release.